Hello everyone and welcome to Day 11 of my frugal journey.
I always seem to have surplus envelopes in my studio and have made several different envelope books over the years to use them up, this accordion style one is definitely the simplest.

Take five envelopes, I have used C6 here, but any size will do, plus leftover papers, some texture paste, seam binding etc. Lay out the envelopes, portrait style, with the open flaps pointing to the right. Remove the flap the end one on the right, turning it the opposite way to the other four. Starting with the first envelope on the left, which will be your front, glue each flap behind the envelope to it's right leaving it a mm away from the flap fold to allow it to fold easily, accordion fashion.
Cut a slit the same width as the seam binding on the flap fold plus through what was the base of the back envelope, halfway down. You will thread the seam binding through this to tie the book closed when you have decorated it.

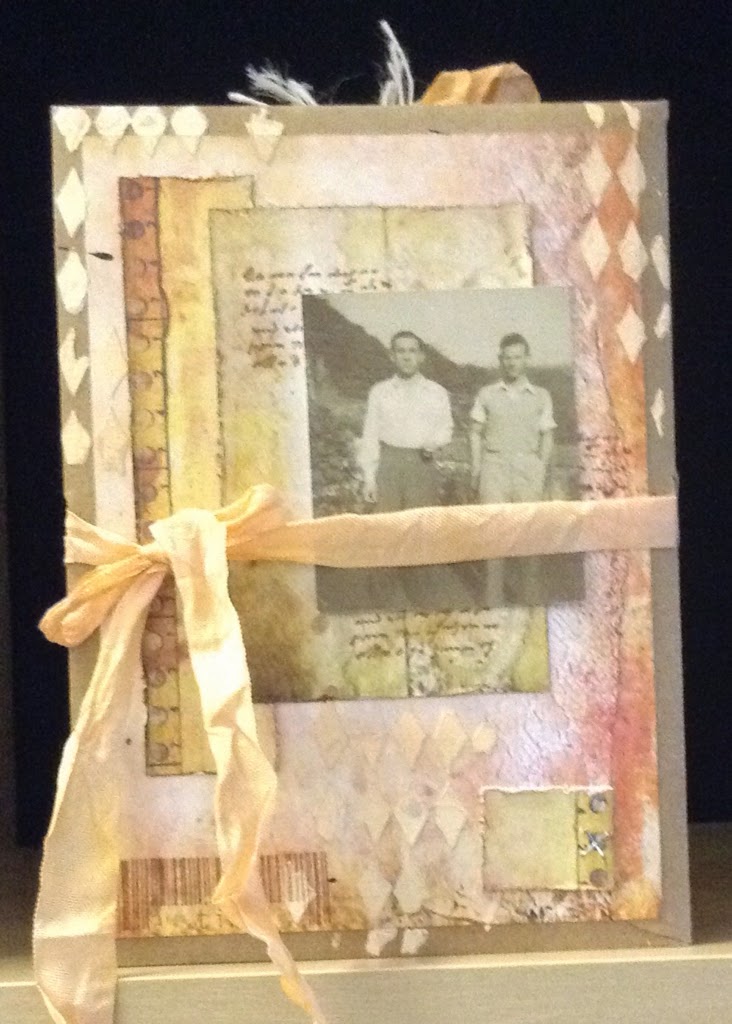
I simply layered scraps of paper onto the envelopes, keeping the envelopes as pockets on the front ...
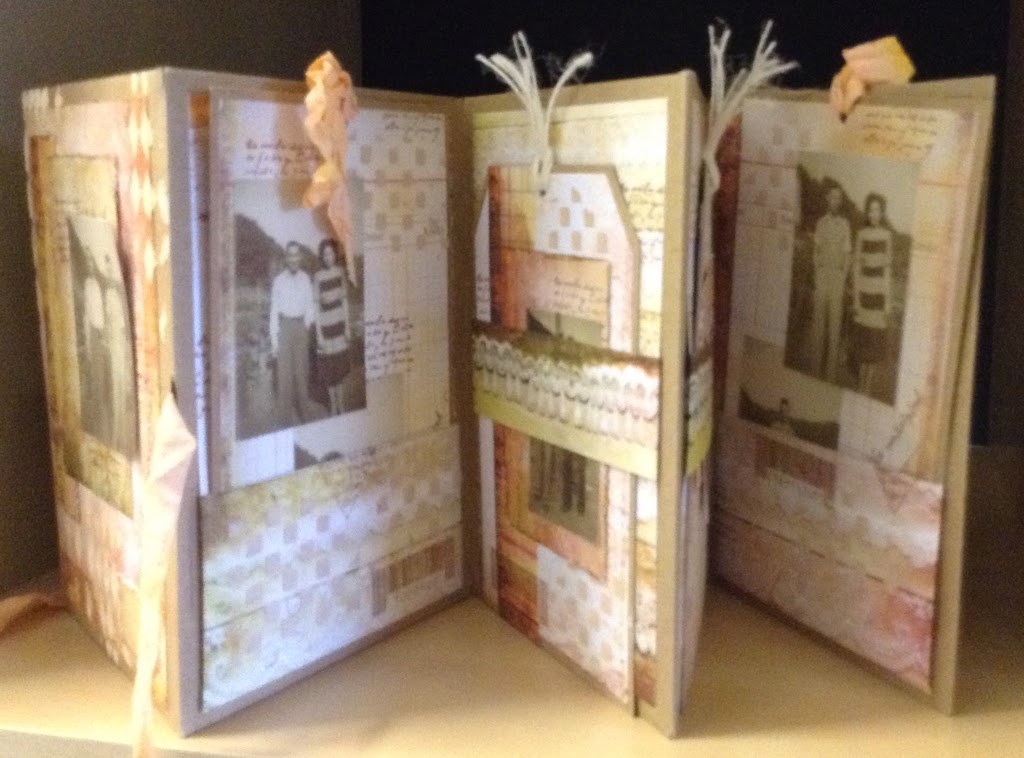
.... and creating pockets and 'belly band' holders for tags on the back. I made all the tags for the back...
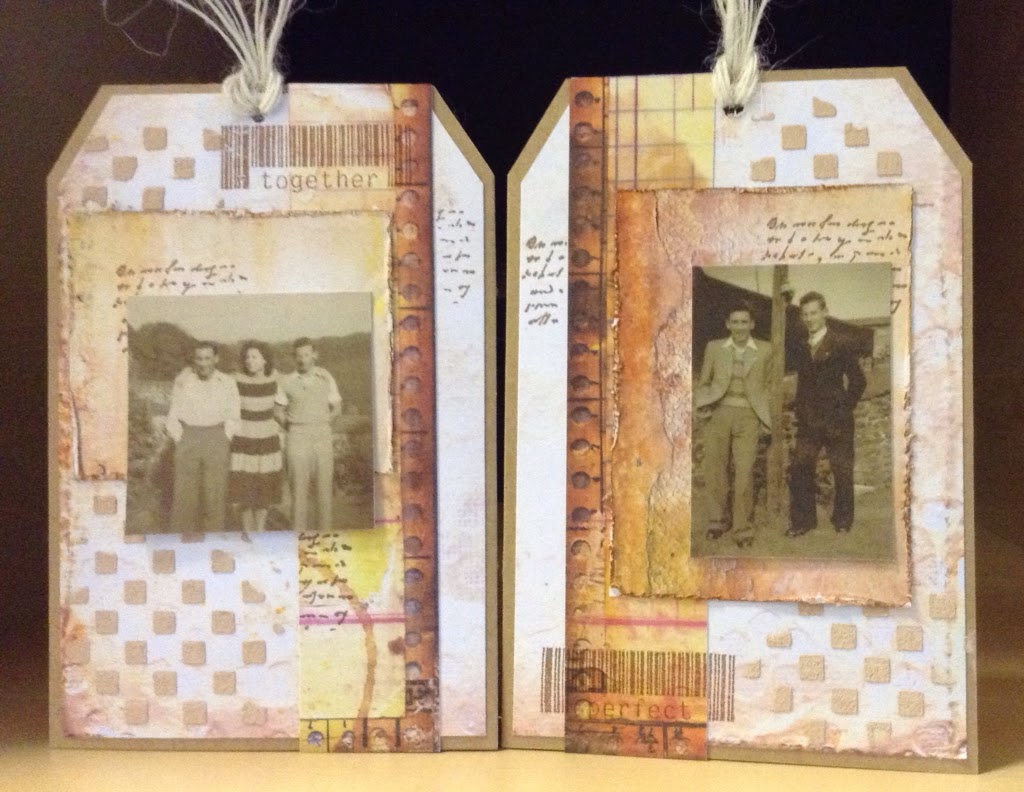
.. and journaling tags to inset into the front pockets.
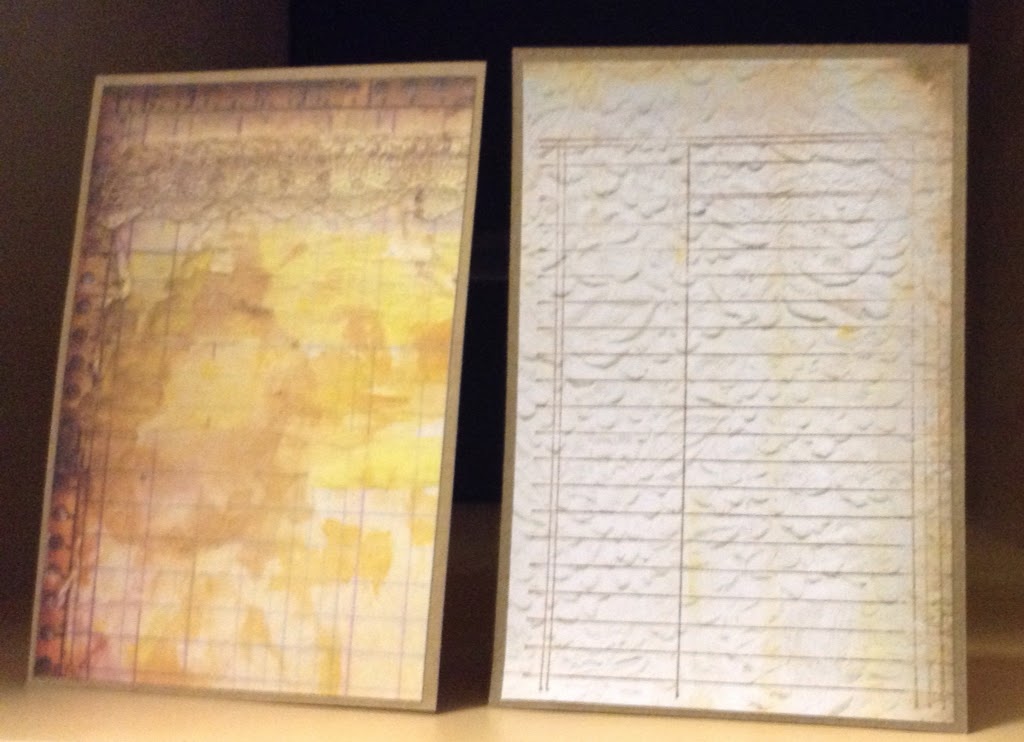
I coloured my homemade texture paste (more about that tomorrow) with Distress Reinkers, using the same colours to dye the seam binding, then added some stencilled and stamped areas on top of my paper layers.
A few inked edges and splatters, and of course the photos, and I was done.
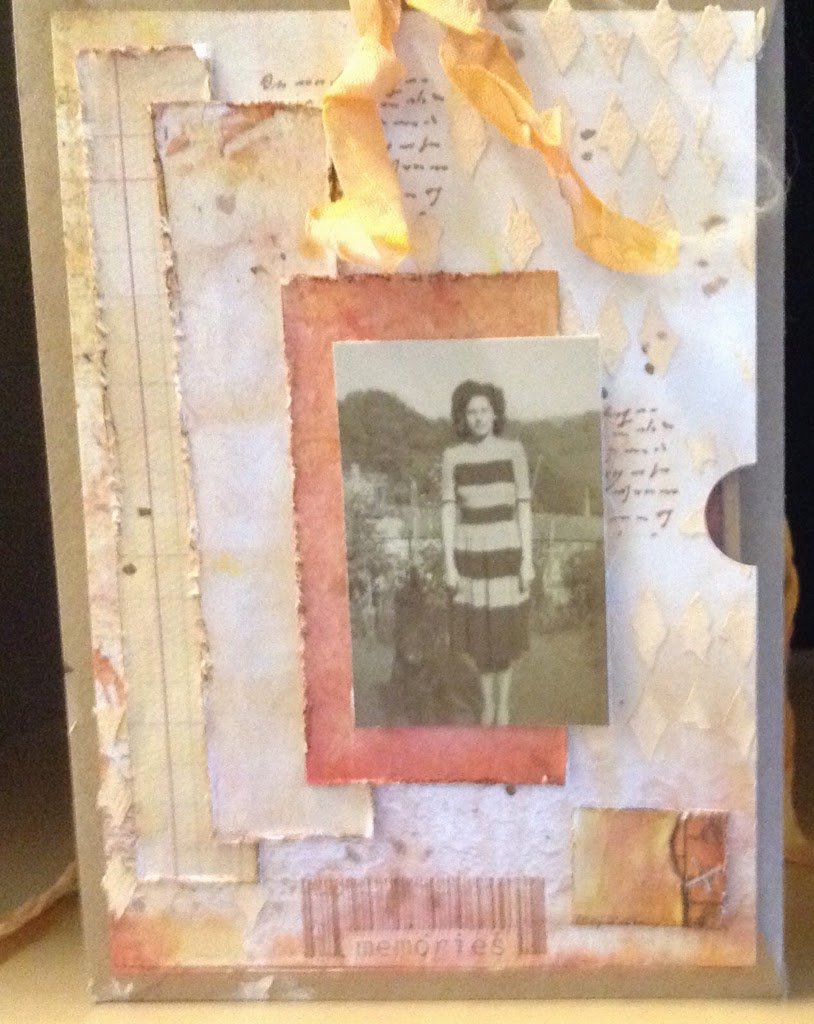
I was really pleased how well this turned out, the colours would not normally be my first choice, but the old photos needed the softer colours, and the proportions worked well with the very small photos.
That's it for today, tomorrow is all about texture paste and I hope you will join me then. Meantime, if you decide to make your own envelope book, do leave a link in the comments below so we can all have a peek.
Thank you for stopping by xx
oh I like today's!! the colours match the photos perfectly.
ReplyDeleteThank you Helen. It's always tricky getting the papers right when the photos are old and a bit of a strange colour x
ReplyDeleteSimply stunning! Especially so when you realise it's scraps! Loving this series of inspirational posts!
ReplyDeleteThank you Gabrielle. I've enjoyed putting them together xx
Deleteoh I love this....I might have to give it a try but I'm useless at understanding written instructions.
ReplyDeleteYou're up beside me then I didn't write very good instructions lol!
Delete